


Well, it has been a couple of weeks since our last post about the water tank (10 Simple Steps to Replacing Our Water Tank), where we had just ordered our new custom tank and were awaiting pickup.
Two weeks ago, Jereme drove over to Lake Worth, Florida to the Dura-Weld shop. He met with Gareth, the owner, who was extremely knowledgeable, helpful, and brought Jereme right into his shop where he fabricates all custom plastic orders. Our new tank was waiting for us, so Gareth pressure tested its airtightness while Jereme looked on. Jereme talked with Gareth for about an hour, then loaded the tank into his jeep and was on his way back to Naples.
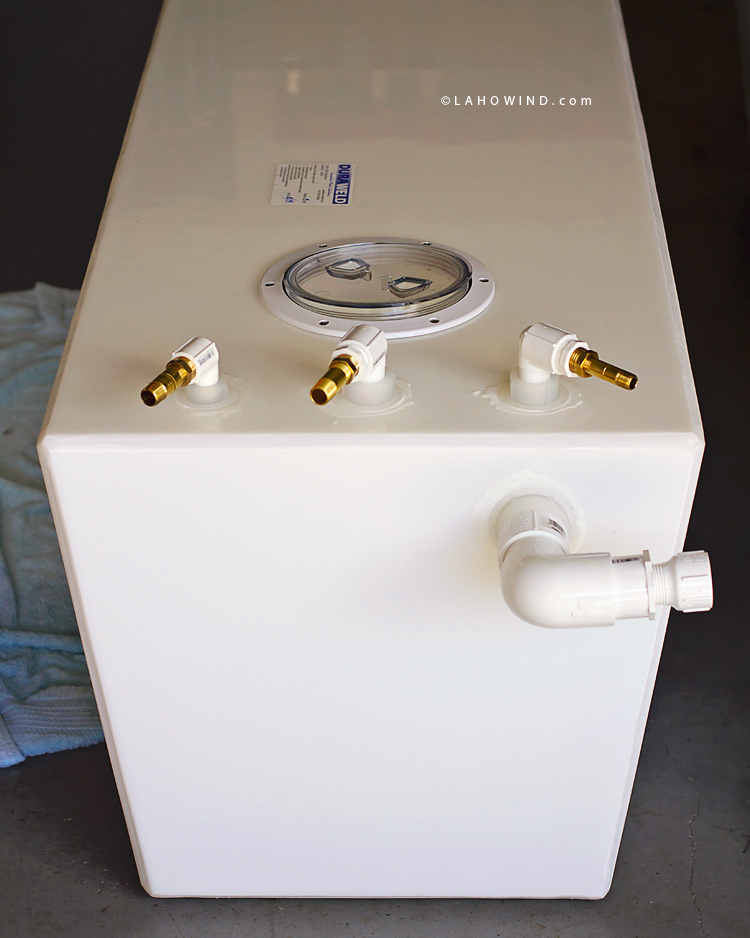
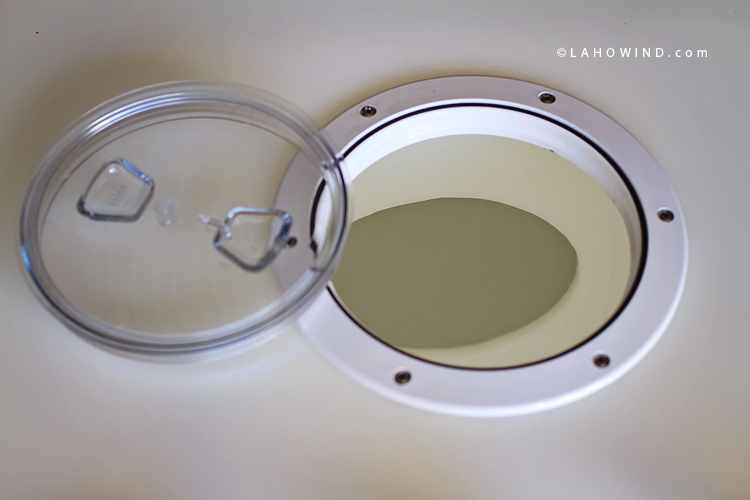
When Jereme returned, he ordered a replacement 6″ Beckson clear access port as the one that came with the tank was solid white and we want to be able to see the tank level without having to unscrew the cap. This came in the mail within days, and was a simple switch-a-roo. Jereme made a trip to Home Depot to purchase all the fittings necessary to reattach the existing hoses on the boat.
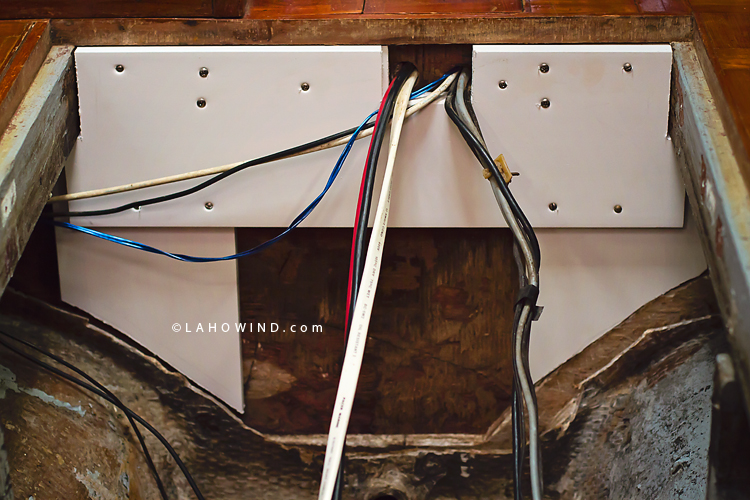
Prior to installing the tank, Jereme rebuilt the wall at the forward end of the bilge area where the tank sits (it had pretty bad water damage that needed to be removed). He used a piece of 7″ wide PVC “wood” that is actually made for outdoor trim around doors on homes. Using his Dremel, he cut this to size and used stainless screws to patch up the wall as needed.
Jereme and I lugged the new water tank down to the boat last Saturday. I will say, the new tank was much easier to handle than the old aluminum tank and only took us about 5 minutes to get it on the boat and in the hole compared to about an hour (and lots of bickering) to get the old one out. 😉
^^working hard or hardly working?^^
![]()
Jereme’s custom measurements turned out pretty perfect! Thank god! He thought he had designed the new tank to be one inch shorter than the previous tank so that we could install PVC boards below the tank to help drainage through the bilge. However, once installed, we noticed that it was actually the same height as the previous tank and therefore there was no room for boards underneath. ??? That’s okay, it will actually work out better because we get more tankage volume and, since the bottom is a little narrower then the previous tank, water can actually flow pretty well around the tank edges if needed.
Jereme spent all day Sunday hooking up the fittings, which have turned out flawless (so far). He filled up the tank a quarter of the way, fired up the water pressure, and opened the taps. This also tested out our new water lines that Jereme installed on the boat a few weeks back. The only leaks we saw were right at the head sink fittings, where the brass compression fitting screws onto the plastic threaded nipple on the sink. Jereme unscrewed those fittings, used a little more Teflon tape, and reinstalled the fittings. No leaks!!!
So, our new water tank is officially installed, waters flowing out of the sinks, and now were off sailing! There is still some follow up work needed to make sure the new tank won’t shift in the bilge area. We’re thinking this will be in the form of custom wood or rubber work, but the bulk of the water tank project is complete and we are extremely happy with the install! 🙂
![]()
[…] UPDATE: The new tank has been installed!!! Read about the last two steps here. […]
[…] were some super stinky projects, a few dirty projects, lots of difficult + time-consuming projects, and even a few crazy simple projects. But we tackled them all! And learned lots of new skills […]