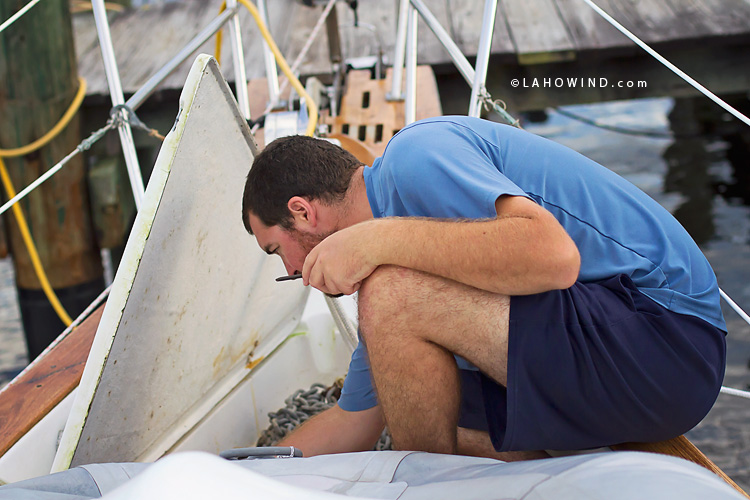
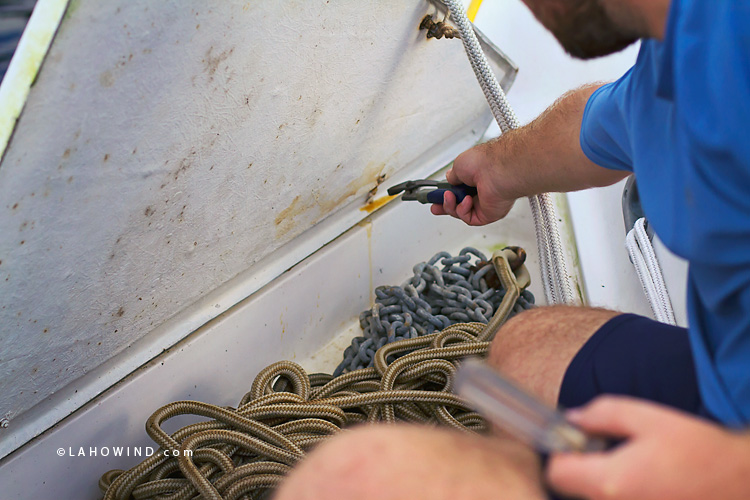
We didn’t need our marine survey to tell us what we already suspected (although they did anyway). We have one (and only one) soft spot on our boat — located on our anchor well hatch.
>>An easy way to check for deck issues is to walk barefoot on all horizontal surfaces and feel for any areas of concern. Soft spots will give and bend a little when walked upon, and can indicate very serious problems. You can also confirm your suspicions by lightly tapping a mallet or screwdriver against the area of concern and then comparing the sound you hear with that of healthy deck area. The difference in sound is usually crystal clear.
In our case, our anchor locker hatch was substantially weaker and felt quite a bit softer when walked upon (a water deteriorated core being the likely culprit). Luckily, it never gave way when stepped on over the past few months, and now it’s in the process of being fixed! (item #33 on our boat project list)


^^and last I checked, brown liquid should not be pouring out of the hatch — another obvious sign of an issue^^
Our soft spot was a clear case of rotten wood caused by moisture penetrating a hole or leak in the hatch. Over time, it eventually deteriorated the plywood core.
Repairing substantial areas of delaminated deck can be very expensive (especially if you are paying someone else to do the work) or quite time-consuming (if you’re DIY-ing it yourself). We are super fortunate in that our soft spot is only located on the hatch (or door) of our anchor well…a MUCH easier and more convenient area to fix. AND less expensive!
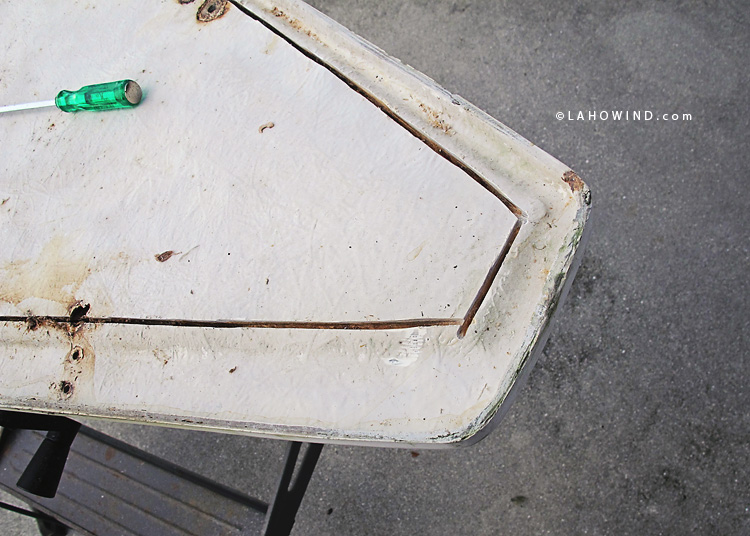
So, we removed the hatch off the anchor well and brought it home where the multi-step process of fixing it would be much easier from the comfort of our garage.
Jereme laid the hatch upside down and used a Rotozip with a fiber disc to cut through the bottom layer of fiberglass (the rotozip easily got the job done). He chose to cut the bottom side of our hatch so that any mistakes or imperfections would be hidden on deck. Jereme also made sure not to cut too deep through the lid, and once the cuts were made (and since the wood was rotten underneath), the piece of fiberglass lifted right off.

Jereme used a crowbar, chisel, and hammer to scrape out all of the rotten wood. This part was rather time consuming. It took him about six hours to remove it all.

^^Um…the damage becomes pretty obvious after she’s open, don’t ya think?!^^

Once the old wood was removed, Jereme measured a sheet of 3/4″ marine grade plywood (1/2″ would have been better, but we bought the wood before cutting open the hatch) and cut it to the shape of the lid so it would fit in the hatch.
Next up, West Systems epoxying.
Jer mixed up a batch of our favorite West Systems epoxy and slathered on a healthy dose to both the hatch inside and one side of the new plywood, and placed them both together (epoxy sides touching of course). He weighted down the hatch/plywood combo with a few water jugs and let it dry overnight.

^^Ahhh…fresh marine grade plywood and the first injection of west systems epoxy.^^

The next day, Jereme mixed up another batch of epoxy and filled in the gaps between the lip of the fiberglass and the wood by carefully pouring epoxy around the edges. …Letting it dry once more overnight.
A third round of epoxy was added the following day, but this time Jereme added filler to the epoxy so he would be able to better shape (or form) the proper angle.


On the fourth day, Jereme reattached the piece of fiberglass he originally cut off by epoxying it and the newly fixed plywood/fiberglass piece, and sandwiched the two together. After the entire fiberglass-wood-fiberglass sandwich was weighted down and allowed to dry overnight, Jereme put one piece of 3-inch wide fiberglass cloth around the cut seam and applied a final coat of epoxy.
Our rotten hatch is now solid and ready to go!!! Install is happening later this week…
>>Thanks for visiting LAHOWIND sailing blog! We’d love for you to get to know us and follow our story as we attempt to navigate a whole new world of sailing.


