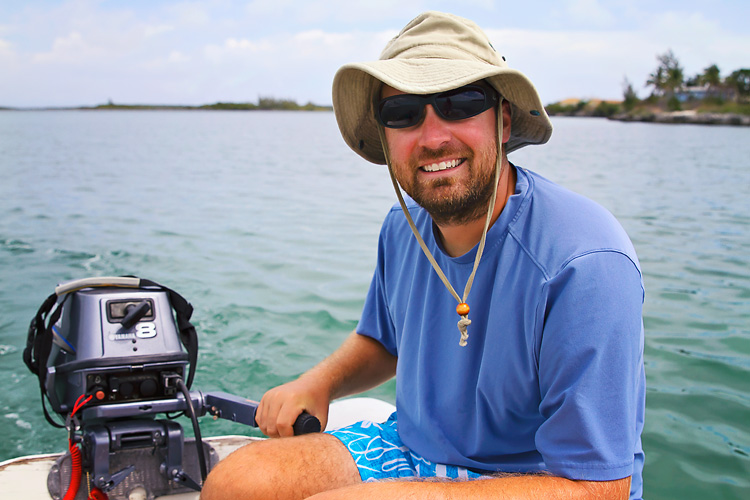
Our dinghy has pretty much been our main link to land while cruising the Bahamas + Caribbean over the past few months. And until we recently sailed into Puerto Rico, we had been spending about 99% of our time at anchor…so without our trusty dinghy, we’d be stuck on the boat all the time. And where’s the fun in that?

Needless to say, we would like to make sure that dinghy stays in proper working condition.
Luckily when we bought our boat, she came with an Avon by West Marine brand dinghy. A great dinghy for sure!
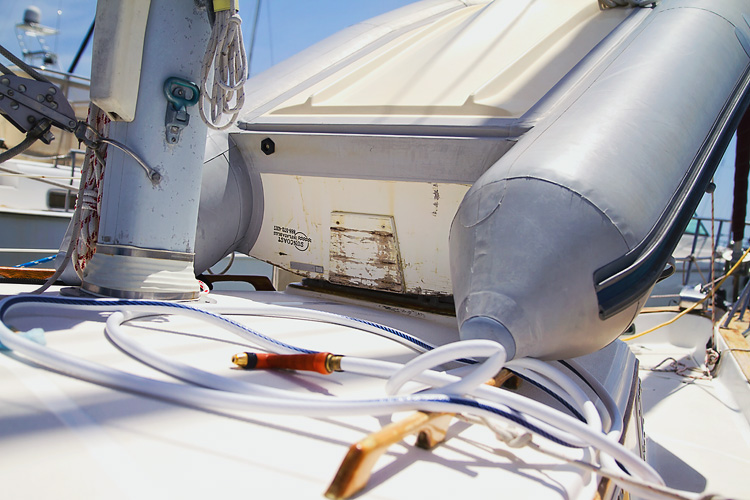
But our Avon dinghy, even though it’s a rigid bottom variety, is actually the kind with a wood transom back as opposed to a full fiberglass transom. I suppose the real original intent of our dinghy was for it to be foldable so it could be easily stowed on deck.
Too bad we never fold ours down. Ever. We always tie it off fully inflated. So much for that great feature.
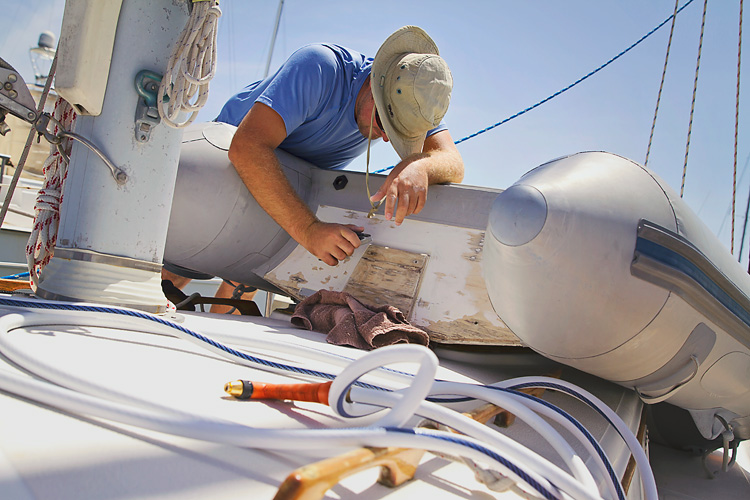
Anyways, over time, the painted wood back on the dinghy has taken a beating from constant exposure to such a harsh salt water, tropical, and humid environment. The paint has begun to chip off and water has begun to penetrate the back, which will eventually (if left untreated) cause the wood to rot and deteriorate. And since we only have one dinghy, we definitely can’t let that happen!

This project has been on Jer’s to-do list for awhile now. But we really needed to wait until we were stationed at a dock for several days in a row so that he would have the time needed to complete this little project. Basically, we needed enough consecutive days (without using or having the dinghy in the water) so that we could scrape off the old paint, clean the exposed wood, repaint the transom with multiple coats of paint, and let it all dry well.
And guess what? Being docked here in Puerto Real, Cabo Rojo is the perfect time!!!


Jereme used a paint scraper blade type tool to scrape off all of the big chunks of old paint. It took about 30 minutes of work to scrape the old paint.
Then, he sanded the wood transom using 80-grit sandpaper. That took him another hour or so to completely sand the dinghy. After sanding, he cleaned the dinghy by hosing it off, but had to wait for the wood to dry, which added another day or two of wait time to the project timeline.

^^wet wood. not rotted wood.^^
The final step of the project involved repainting the dinghy with an oil based enamel paint (we used a white one — real creative around here). We actually found the paint at the local hardware store here in Puerto Real, and it only cost us about $4 a can. Pretty good find if you ask me! Jereme gave the dinghy three coats of paint over the course of three days. And turns out, we only used one full can of paint.


And of course, now that we have ^^this^^ dinghy project done, we think we might have another leak. Lol. It’s always something, isn’t it?
>>Thanks for visiting LAHOWIND sailing blog! We’d love for you to get to know us and follow our story as we attempt to navigate a whole new world of sailing, as we cruise the Caribbean. …Learn more about us and our sailing + cruising adventures.


[…] few days before I jetted home to Florida, Jereme had just spruced up our good ole dink by rehabbing the wood transom, so we thought we might as well take her out for a spin around the neighborhood while she was […]